
Upload your photo
Photo edit presets
Your edited photo
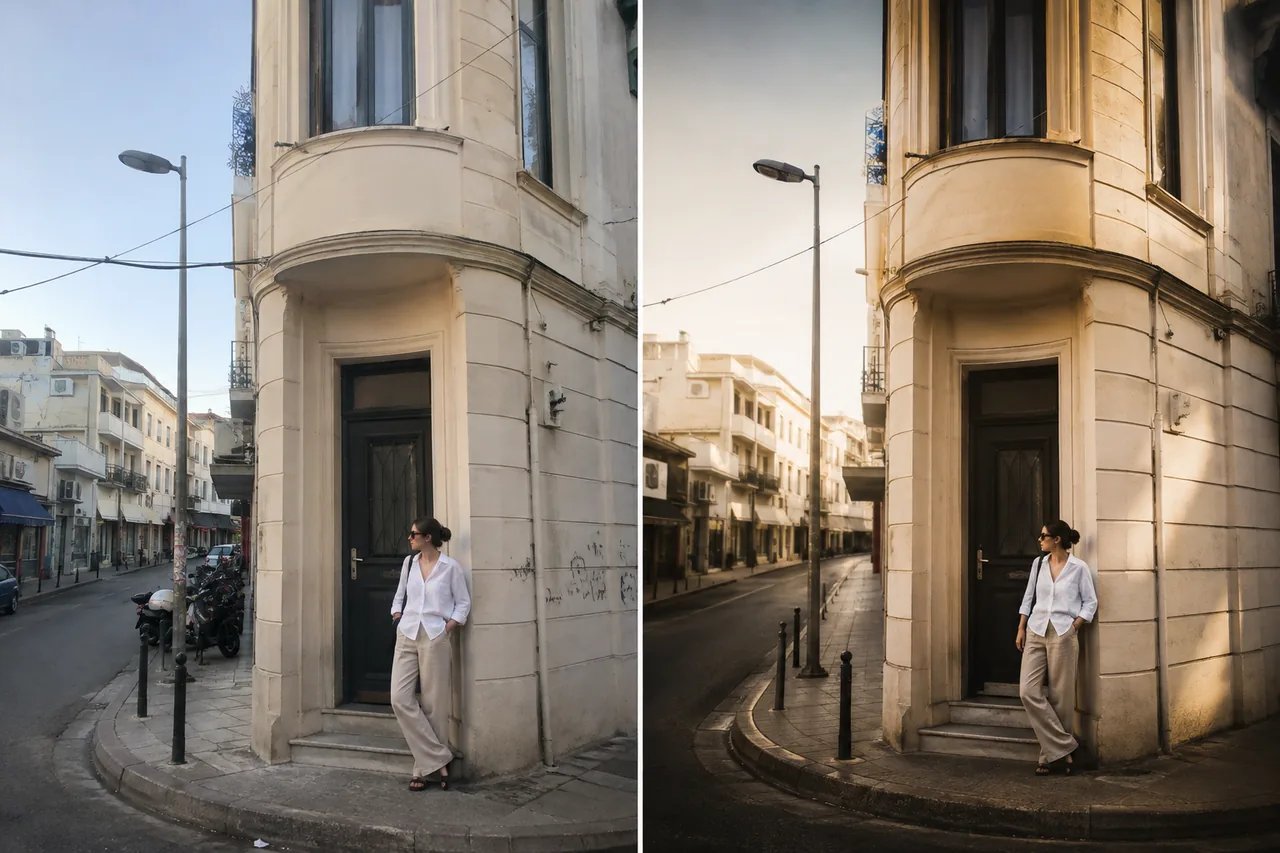
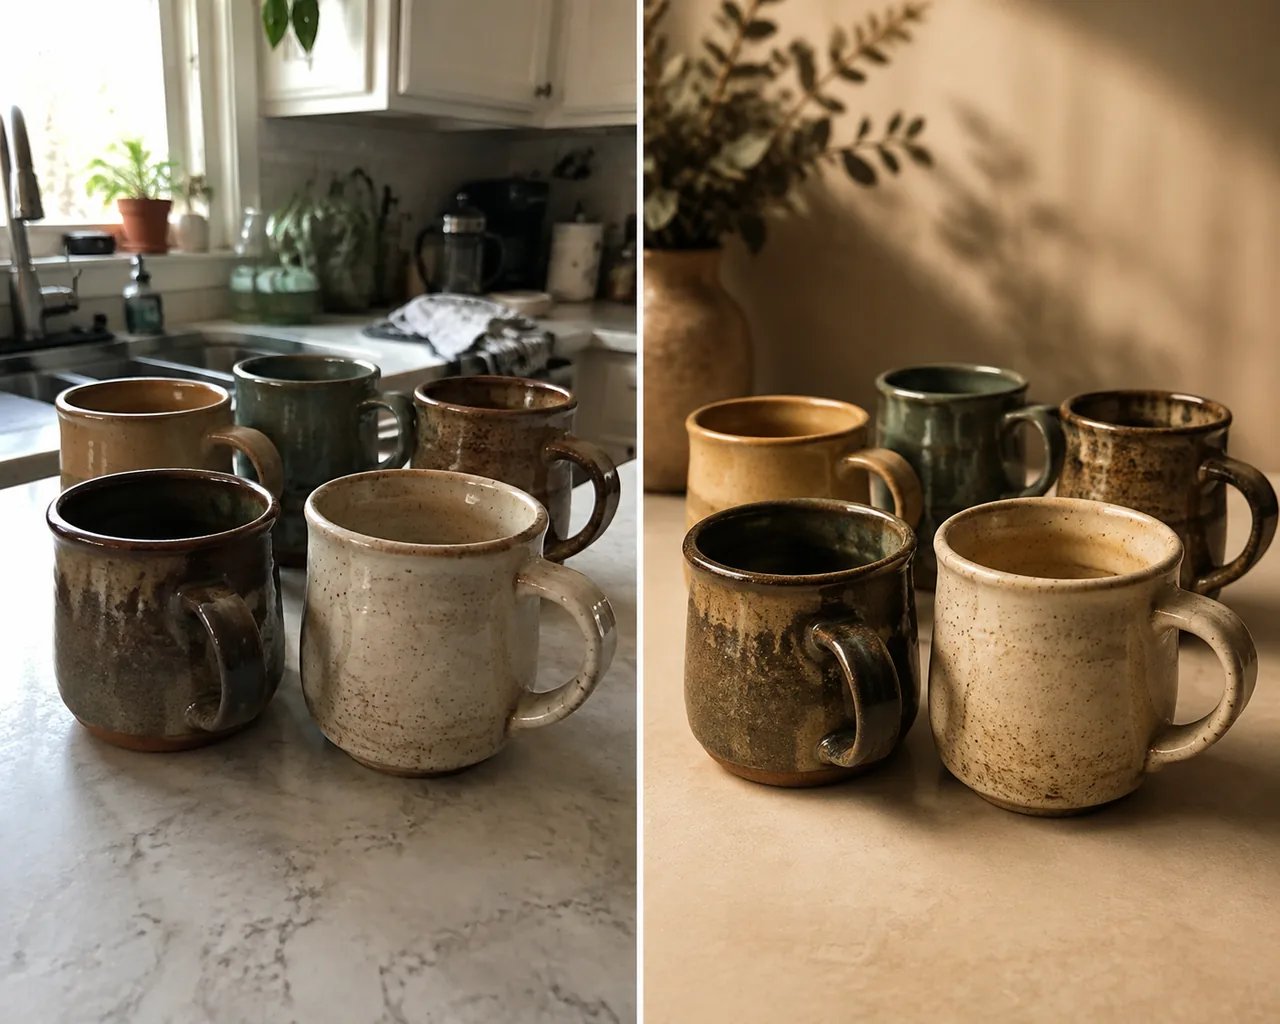
Generate a new version from your source photo, then compare before and after.
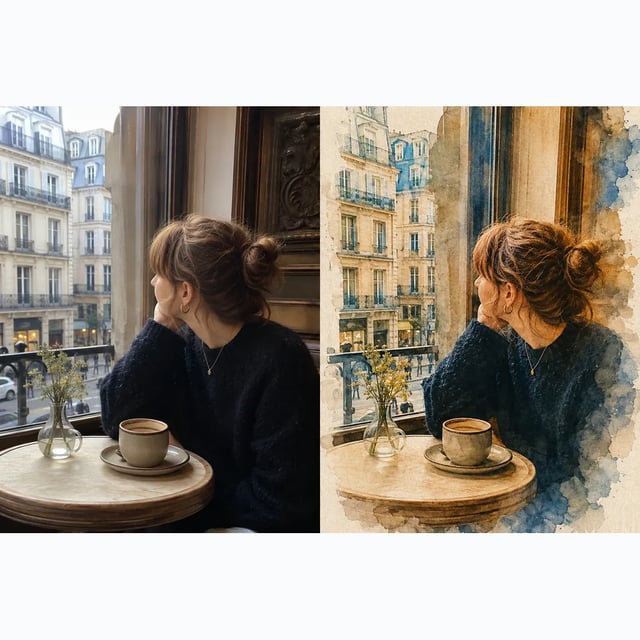
AI Photo Editor — Online Photo Edits
Upload a photo, describe the change, and let this online AI photo editor generate a polished version for posts, listings, campaigns, and client drafts without layer work.
What is an AI photo editor?
An AI photo editor, sometimes called an AI image editor, changes a source photo with written instructions. You upload the image you want to improve, then describe the edit in plain language: warmer light, a cleaner background, a watercolor treatment, a studio product look, or a more cinematic color grade. The AI photo editor uses the uploaded photo as the starting point, so the result can keep the subject, camera angle, and visual relationship you care about instead of creating an unrelated image from scratch. That matters when the photo already has the right person, product, room, pet, or location, but the finish is not strong enough for a post, listing, presentation, or campaign. The best prompts tell the AI photo editor what should change and what should stay: keep the face, preserve the product shape, keep the scene geometry, or leave the original composition intact. Creating Image runs this as an image-input workflow with model choices and credits, so the page is honest about the process: sign in, upload a JPG, PNG, or WebP, write the edit, generate the result, compare before and after, and download the finished image.
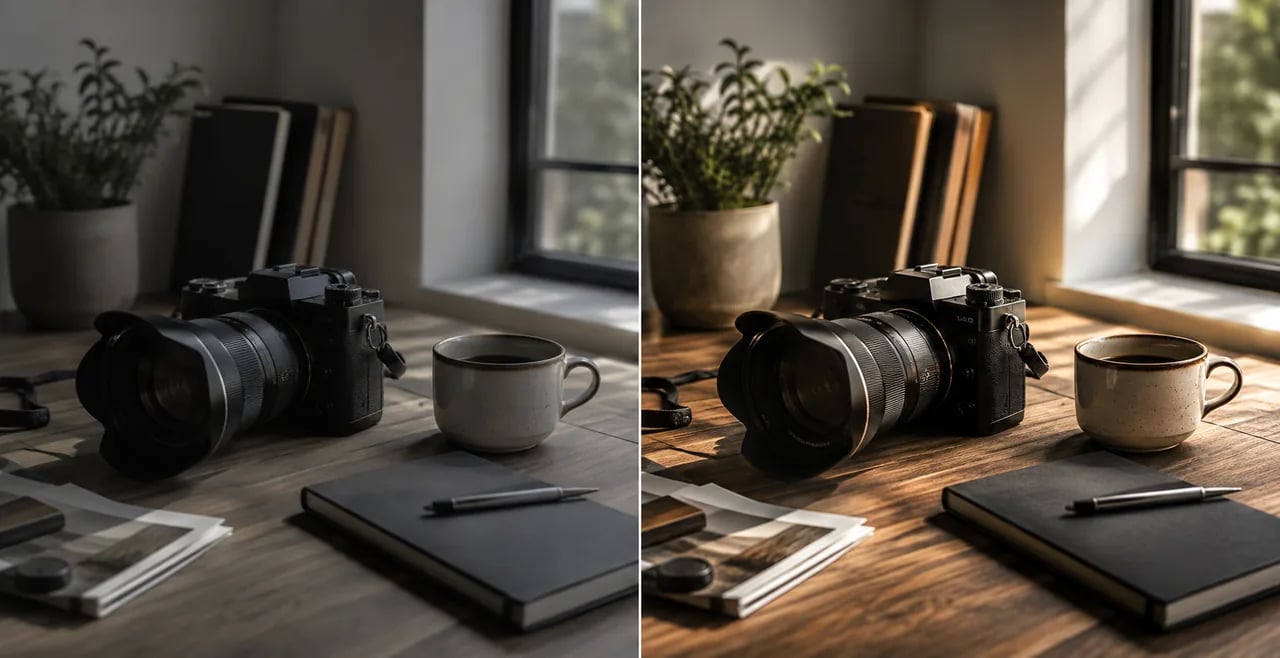
Why use an AI photo editor for existing photos?
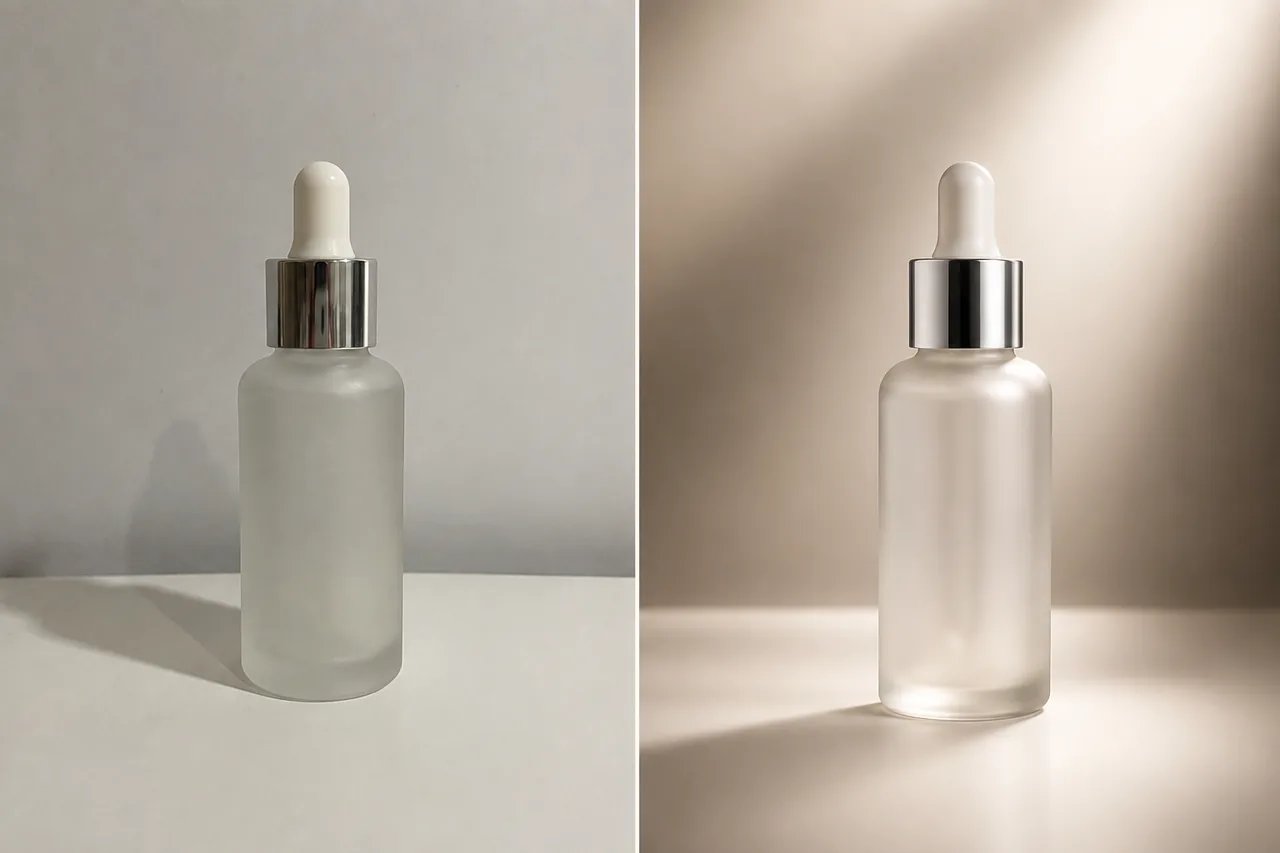
A text-to-image prompt is useful when you need a new idea, but many real workflows begin with a photo that already exists. A seller has a product snapshot, a founder has a team photo, a creator has a travel image, and a designer has a reference scene. The AI photo editor is useful because it starts from that existing source instead of asking you to rebuild everything in words. You can ask for a studio-style product edit, a softer portrait finish, better exposure, a cohesive social color grade, or a stylized illustration treatment while keeping the source connected to the output. That makes an AI photo editor practical for repeated work: one product line can share a cleaner lighting style, one creator feed can share a consistent palette, and one campaign can test several visual directions from the same source photo. It does not replace careful retouching for every edge case, but it helps remove the slow first pass: no layer setup, no manual masking for broad style changes, and no guessing which slider creates the look. The prompt becomes the editing brief, and the before-and-after view lets you judge whether the AI photo editor kept enough of the original image.
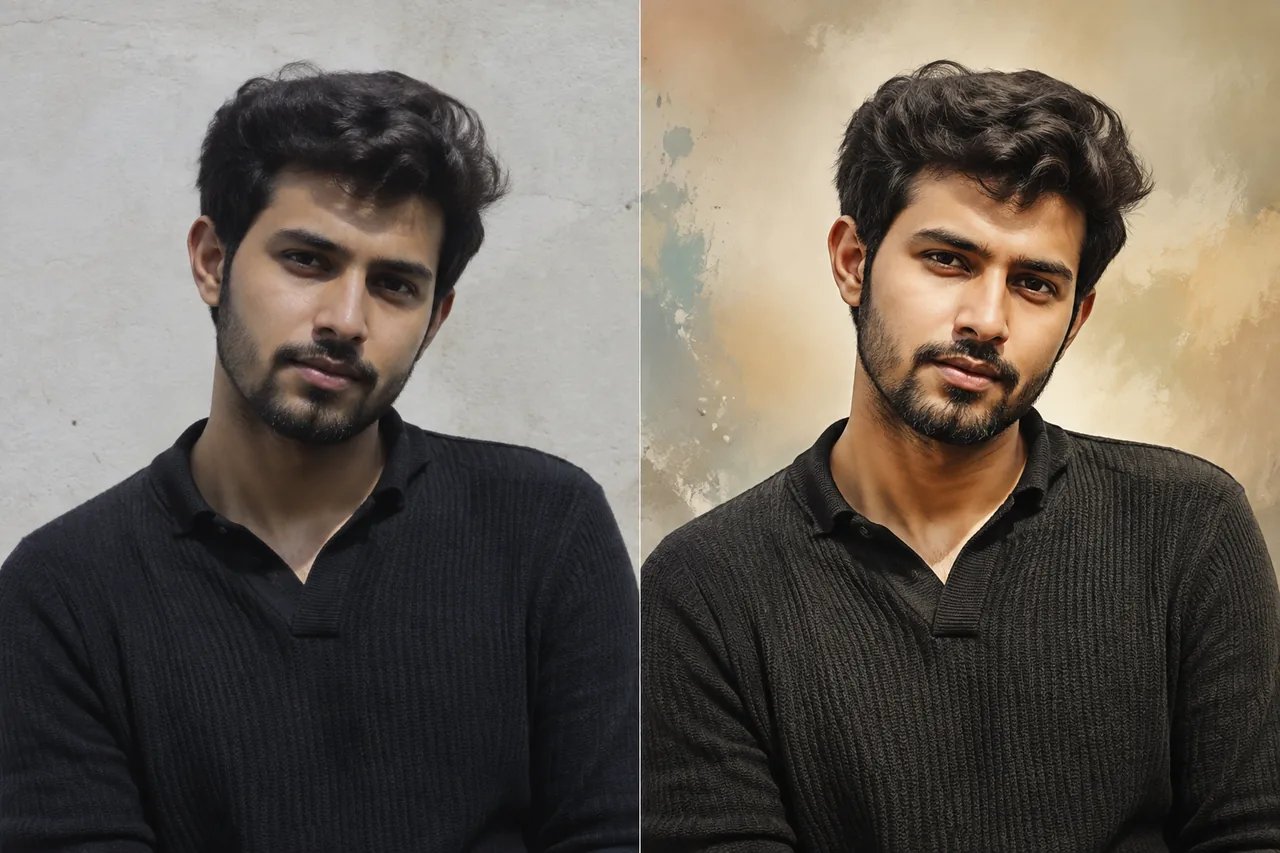
Struggling to turn a decent photo into a finished image?
Most photo editing work is not about fixing a disaster. It is the gap between a usable photo and a finished one: the product is right but the table looks dull, the portrait is good but the background feels flat, the travel shot has the right mood but uneven light makes it hard to post. An AI photo editor helps with that middle zone. You can write the outcome directly instead of translating it into masks, curves, selections, and manual brush work. Ask for brighter editorial light, a calmer background, a premium product setup, a mixed-media finish, or a cleaner color grade. The AI photo editor will not guarantee a perfect first result, and detailed identity or tiny object edits may need another prompt, but it gives you a fast way to explore a better finish from the same source. Because each run uses credits, specific prompts matter: say what to preserve, name the style, and avoid vague requests like make it better. The clearer the edit brief, the less the AI photo editor has to guess.
How to use the AI photo editor
Use the AI photo editor in three steps: upload the source, describe the change, then compare the edited result with the original.
- 1
Upload the source photo
Sign in and add the JPG, PNG, or WebP you want to edit. The uploaded image becomes the source, so start with the clearest version you have.
- 2
Write the edit brief
Describe the change and the parts to preserve. A strong AI photo editor prompt names the lighting, background, style, and any subject details that should stay recognizable.
- 3
Generate and compare
Generate the edited image, drag the before-and-after comparison, and download the version that works. If needed, adjust the prompt and run another pass.
Edit an existing photo with AI
Edit photos with AI by turning a source photo into a more polished image with prompt-based edits, before-and-after comparison, and credit-based model choices.
More AI Image Generators
AI photo editor FAQ
The AI photo editor takes the image you upload and uses your prompt as the editing brief. The prompt can ask for lighting, background, color, style, or polish while the source photo anchors the result.
You can upload JPG, PNG, or WebP files. The upload control stores the source image first, then sends that source with your prompt to an image-editing model.
A good prompt names the desired edit and the constraints. Tell the model to preserve the subject, face, product shape, or camera angle, then describe the lighting, style, or background you want.
It is designed to start from your source photo, so it can keep the composition and main subject recognizable. Very precise identity, text, or tiny-object edits may need a clearer prompt or another pass.
Yes. Sign in to use the editor, and each generation uses credits based on the model and resolution you choose. The credit cost is shown beside the model selector before you run it.
Yes. After generation, the workspace shows a before-and-after comparison so you can inspect the change, then download the edited image or the original source file.
Eligible new accounts may receive configured starter credits for image workflows. Each AI photo editor run still uses credits based on the model and resolution you choose, so it is not an unlimited free editor.